PerfectMIND give you the ability to easily create your own views to use to filter information. Views can be found on several pages, such as Contacts, Transactions, and Products. Views allow you to filter your lists by various types of information, such as name, price, quantity, and so forth.
How to create and edit views
Views can be created within various pages to provide a quick way to easily sort information. For example, you want to put on a women’s money sense seminar, therefore, you want to see all the active female customers you have before creating the seminar.
To create a new view:
Click +New View.
Name the view; for example, all Active Female contacts.
Select how you want to View As:
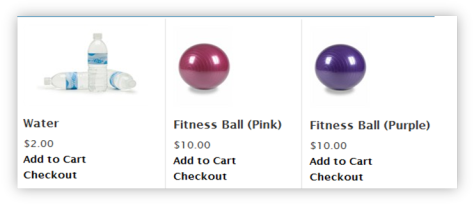
Card View: This view displays each record as a tile with a few main fields displayed; for example, Products and Memberships.
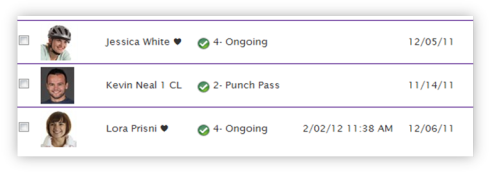
List View: This view displays each record in a list with several fields on display; for example, Contacts and Transactions.
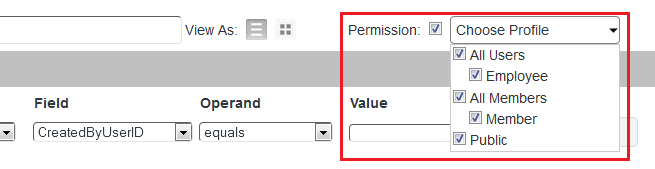
Check the Permission check box to allow more users to use this view. Check off the user type(s) that you want to able to see the view. By default, only the Global Administrator can see this view. If you are sorting your products by type, such as clothing, gear or beverages, you may want to make these views visible to Public and Members for online shopping.
Create the Filter (see below).
How to create view filters
Filters are second and often the most important step for creating a new view. The filter(s) is used to determine which information is displayed within a view.
To create a filter:
Objects: Objects contain fields; select the object that contains the fields you want to work with. Clear as mud? Think of each Contact as an Object. Each object has Fields, such as First Name, Last Name, Last Purchase Date, and so on. You will use these fields to define your filter’s parameters.
Field: Once you have selected an Object, the fields from that object appear in the Field drop down list and can be selected.
Operand: This drop down displays various options to use when connecting the Field to a value; for example, Field:Type, Operand: Equals.
Value: The value is the desired outcome from the Field; for example, Field: Type, Operand: Equals, Value: Customer.
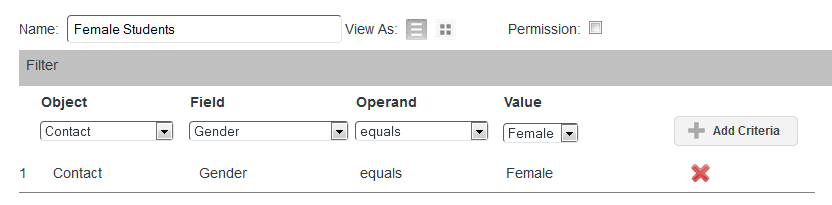
Example: Let’s make a filter for all females:
Object – Contact
Field – Gender
Operand – Equals
Value – Female
Your filter should make a basic sentence; for example, Contact Gender Equals Female.
Click +Add Criteria to add the criteria you have selected use.
Warning! If you do not click +Add Criteria, the filter will be empty!
You can have more than one criterion in a filter; for example, you want only Active female contacts to be filtered, and then add: Contact Type equals Customer.
If you make a mistake, you can remove a criterion by clicking the red X at the far right of the criteria.
When you have more than one criterion, a new section will appear called Advanced Filtering.
You can write out the line numbers and operands or just use the menu and buttons available. The menu gives you the option to add Ands and Ors; by default, multiple criteria will be considered And.
Let’s pretend I added a 3rd criterion where Age is greater than 30. To make an advanced filter, you could say 1 and (2 or 3); all Active Females, OR all Females that are older than 30.
Now back to the easier stuff!
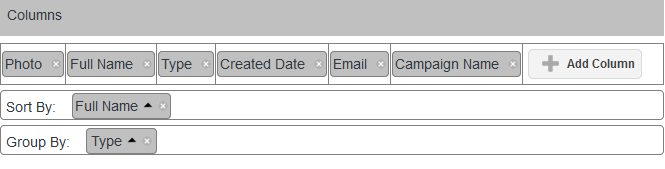
Select the columns you want displayed; by default, Contact ID will be displayed. If you do not wish to see Contact ID displayed, after you add another column, click the red X delete it. Click +Add Column to add another column, such as the contact’s Full Name.
To sort alphabetically by name, drag Full Name into the sort by box. The arrow in the box will advise you if the order is ascending or descending.
Sort By: Drag the column you want to primarily sort by here. To sort alphabetically by name, drag Full Name into the sort by box. The arrow in the box will advise you if the order is ascending or descending.
Group By: This allows you to group your information; for example, if you wanted to see all contacts grouped together by their Age, you could drag Age into the group by list.
I know the field I am looking for is on the page layout, why can't I find it?
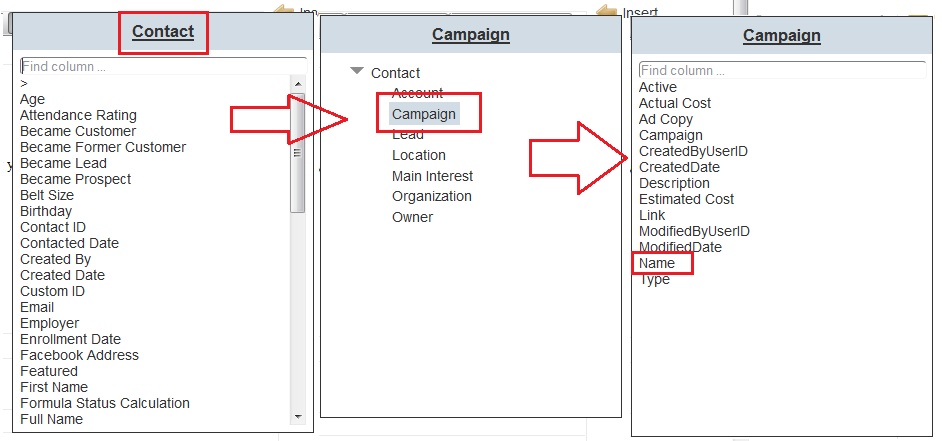
This may be a related field; for example, on the contacts profile you will see Campaign, but the Campaign Name field is not available in the list of columns you want to add. This is because it is a related object, which means it's a field that is related from another object.
To add a related field, do the following:
Click +Add Column.
Click on the name of the menu at the top, for example, Contact. You will now see the available options related to contact.
Click on the name of the menu, and select the field you would like displayed as a column, for example, Campaign - Name.
Click Save.
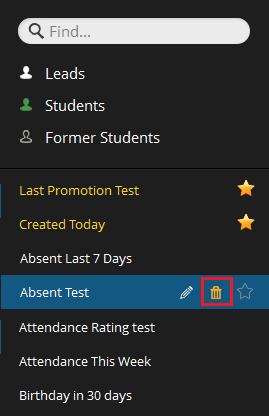
To edit a view
When you move your courser over the views in your view list, you will see a on the right side of the view name; click to edit the view. Make your changes and then Save your changes.
To delete a view
When you move your courser over the views in your view list, you will see a on the right side of the view name; click to delete the view. There will be a pop-up on the top of the page asking you to confirm if you would like to delete the view.
Warning: Do NOT delete Member's View from the Contact page. If you delete this view, Members will NOT be able to access the portal.
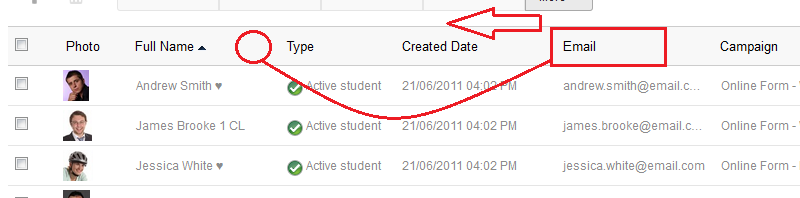
Quick rearrange or resize of view columns
You are able to quickly rearrange the columns by dragging and dropping the column header into its new location.
You can also re-size the columns by placing your courser between at the very end of the column you want to re-size and then dragging it to the desired size.
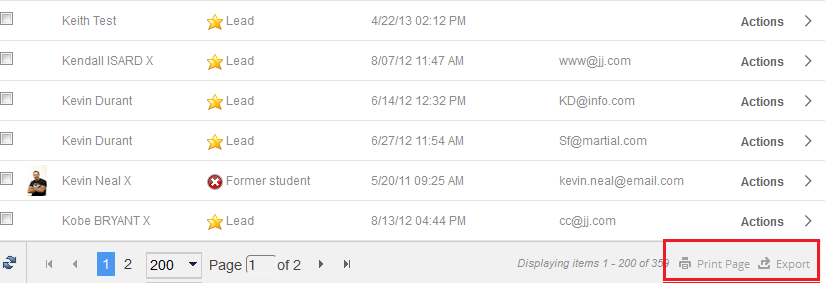
Exporting and Printing Lists
All views can be exported to excel or printed directly from the page they are being viewed. This can be done on any page where views are available
To export or print information from a view:
Select the view with the information you wish to export or print.
Click Print or Export at the bottom right.
Note: Exporting a list will export all the details. Printing a list will only print the current page.
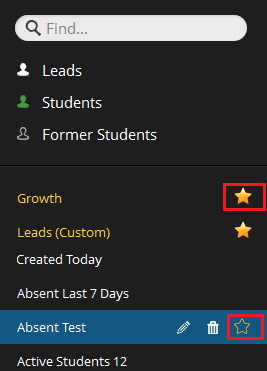
Adding Favorites
Commonly used views can be favorited to make it simple to find information you are commonly looking for. Favorited views are per user, so each user can have their own commonly used views at the top of the view column.
To favorite a view, simply click the star to the right of the view name. This places the favorited view at the top of your view list.
To remove a favorited list, click the star again to make it go dark.


 on the right side of the view name; click
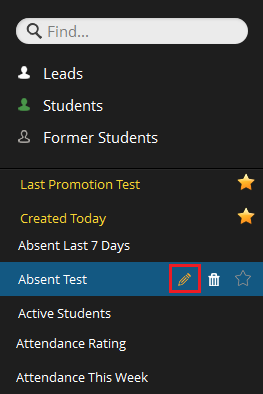
 on the right side of the view name; click